Construction
of payload section
555 Timer Circuit
Video of first camera lanuch
Pictures from first launch, NAARAM43 8/4/01
Pictures from second launch, CTRA 9/8/01
Pictures from third launch, METRA 8/31/02
Pictures from METRA 7/17/04
|
|
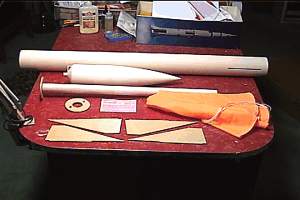
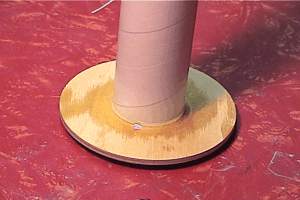
| The LOC Forte, my first LOC rocket and my first epoxy rocket. I choose it because its 3" diameter allows for a range of cameras to fit into the payload section which was purchased separately and not shown in this pic. | Top end of the motor mount tube. The tube is 22" long and uses plywood centering rings. My first plywood ring and fin rocket. |
|
|
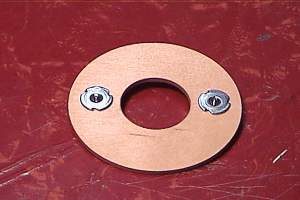
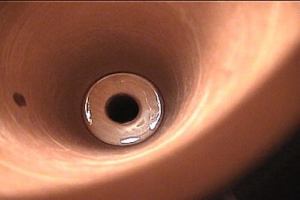
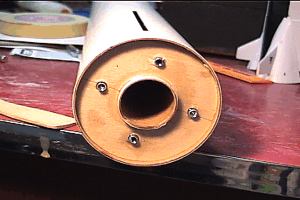
| The aft centering rings uses "T" nuts to hold the # 6 screws which hold the clips which retain the motor (top view). | Looking down from the nose cone end of the body tube, you can see the top of the motor mount/ring assembly. The ring was 16" down. How do you get epoxy 16" deep into a tube without making a mess? See below. |
|
|
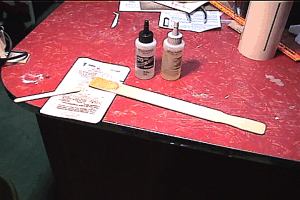
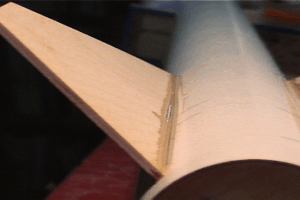
| Notice that now you see 4 screw posts. The reason is I mistakenly epoxied the "T" nuts while the screws were in. The screws ended up being epoxied and actually broke when I tried to take them out. Didn't know epoxy was that strong! | Here is what I used to epoxy deep inside the tube, a paint stirrer. Mix epoxy on the flat side, put inside the tube, turn over and presto, epoxy right where you want it without wasting alot of it. |
|
|
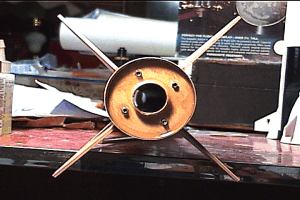
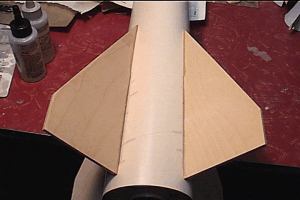
| First fin gets epoxied on. I love these pre-slotted tubes! | All four fins on but no fillets let. |
|
|
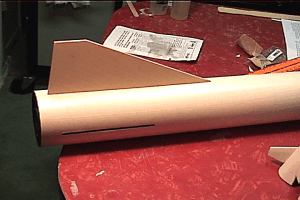
| Closer view showing fins without fillets. | Epoxy fillets added. I got card stock, mixed epoxy on it and then place card along root edge and let epoxy flow down along the joint. I then tilted the body tube back and forth to let the epoxy smooth out. Didn't have to use my fingers. |
|
|
| Next the launch lug is epoxied. | The cord that ties to the shock cord is epoxied deep enough into the tube so the nose cone still fits. As you may see, I got a little too much near the top and it needs to be sanded away before the nose cone goes all the way down. |
|
|
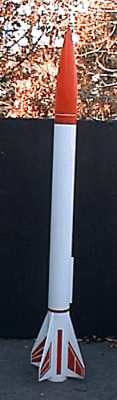
The finished, painted Forte. Now on to the payload section. |
|
Click here for part 2, the camera payload |
|