| Next,
the camera part |
|
|
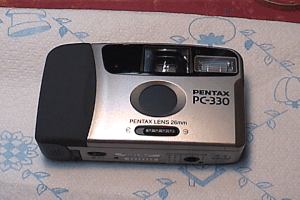
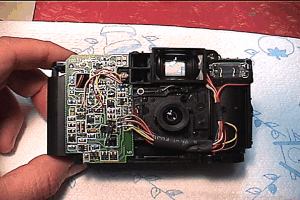
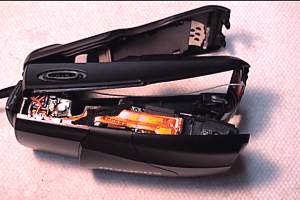
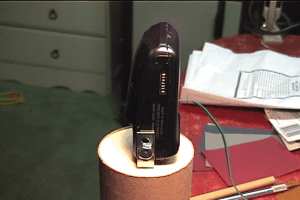
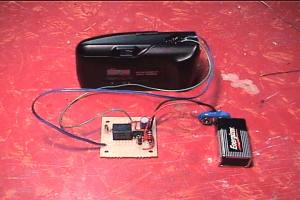
| This WAS the camera I was going to use but
after taking it apart, I don't believe it will work as needed. |
The problem with this camera is the shutter
isn't just a switch but a lever that goes deep inside the camera and "does
things". |
|
|
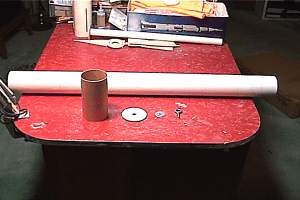
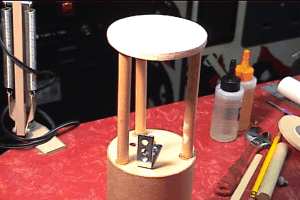
| The payload section. Cost about $10 and
includes everything you see. Once calculated, the tube will be cut to size. |
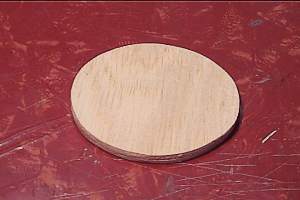
A balsa bulkhead made of two 1/8"
sheets of balsa glued together with the grains 90 degrees apart. Pretty strong. |

|
|
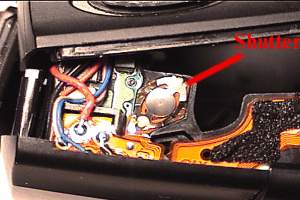
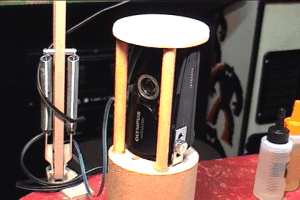
| THIS is the camera I will use, an Olympus
Epic. Purchased off Ebay, it has a electronic shutter. |
Taking the camera apart to solder wires to
the trip the shutter electronicly. |
|
|
| The red line is pointing to the silver
contact which must be remove. Underneath are circuit pads which the wires are solder to. |
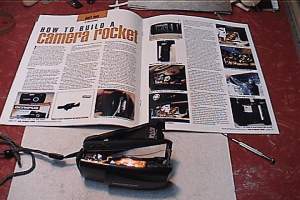
Fortunately, while I am building this
project, the July/August issue of Extreme Rocketry has an article on rocket cameras using
this same camera. |
 |
 |
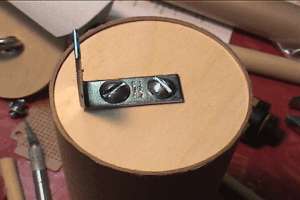
| Right angle bracket attached to plywood
bulkhead and inserted into coupler. |
Camera attached with 1/4" bolt. |
 |
 |
| Three wooden dowels hold up balsa bulkhead
which will hold electronics board. |
Camera resting safely inside, back dowel
supports back of camera. Camera can be removed from one side. |
 |
 |
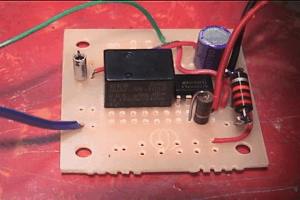
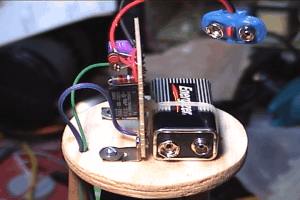
| The camera is triggered by this very simple timer circuit using a CMOS 555 and 5 volt relay. There is
only one capacitor, a diode and 2 resistors needed.The 22k ohm resistor (on right) is on
standoffs so other resistors could be placed in parallel to fine tune the times. The
values chosen yield a 4 second period (which I later found is too long, 1.5 seconds should
work better). |
The finished timer circuit wired into the
camera. A 9v battery powers it. Not wired yet in this photo are the power switches. |
 |
 |
| Right angle brackets secure the timer board
to the bulkhead. A tie wrap holds the battery down. |
Almost finished rocket cam. Just need to
wire switches and mount in body tube. |
 |
 |
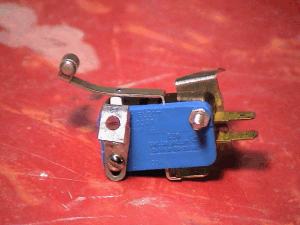
| Here is the slightly modified micro switch
which will be used to trigger the camera. I am using the normally CLOSED contacts. |
A neat way to cut tubing straight is to use
a automobile hose clamp as a guide (3" in this case). |
 |
 |
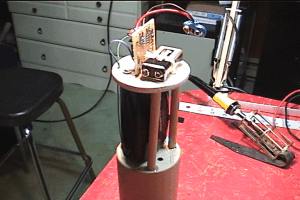
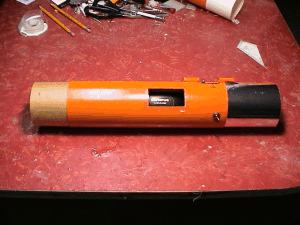
| The tube cut to 14" long, a cutout for
the camera and switch, and a coat of paint. |
Bottom of camera coupler tube showing eye
screw and shock cord. The payload section has its own shock cord and chute. On the right
you can see the wire going to the switches. |
 |
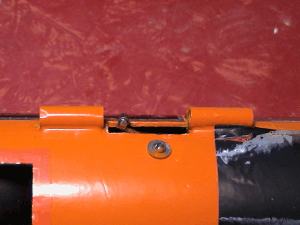 |
| You can see the master on/off switch here.
The body tube slides over the coupler and will be screwed together. |
A close up of the two launch lugs and
microswitch. When the rocket is on the launch pad with the launch rod between the the
lugs, the switch is closed breaking the circuit. The master switch is then flipped on. Now
as the rocket leaves the rod, the microswitch opens causing the timer circuit to start. |
 |
 |
| The body tube in place over the coupler. |
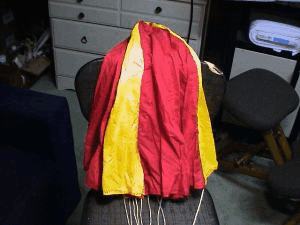
My wife made this home made 3' chute from
rip-stop nylon from a fabric store. Much, much cheaper than buying one!!! |
|
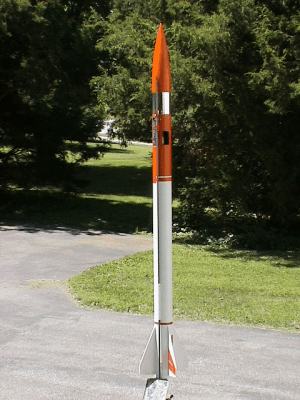
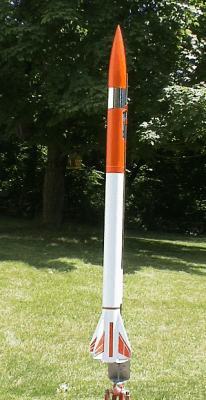
| Picture on the left shows how
launch rod goes all the way to the top and keeps the microswitch closed. Picture on the
right shows back side of rocket. Silver foil near nosecone is for looks only and to aid in
tracking. |
First pictures from rocket camera |